Reliable Cleaning Services Winnipeg: Making Your Space Shine
Wiki Article
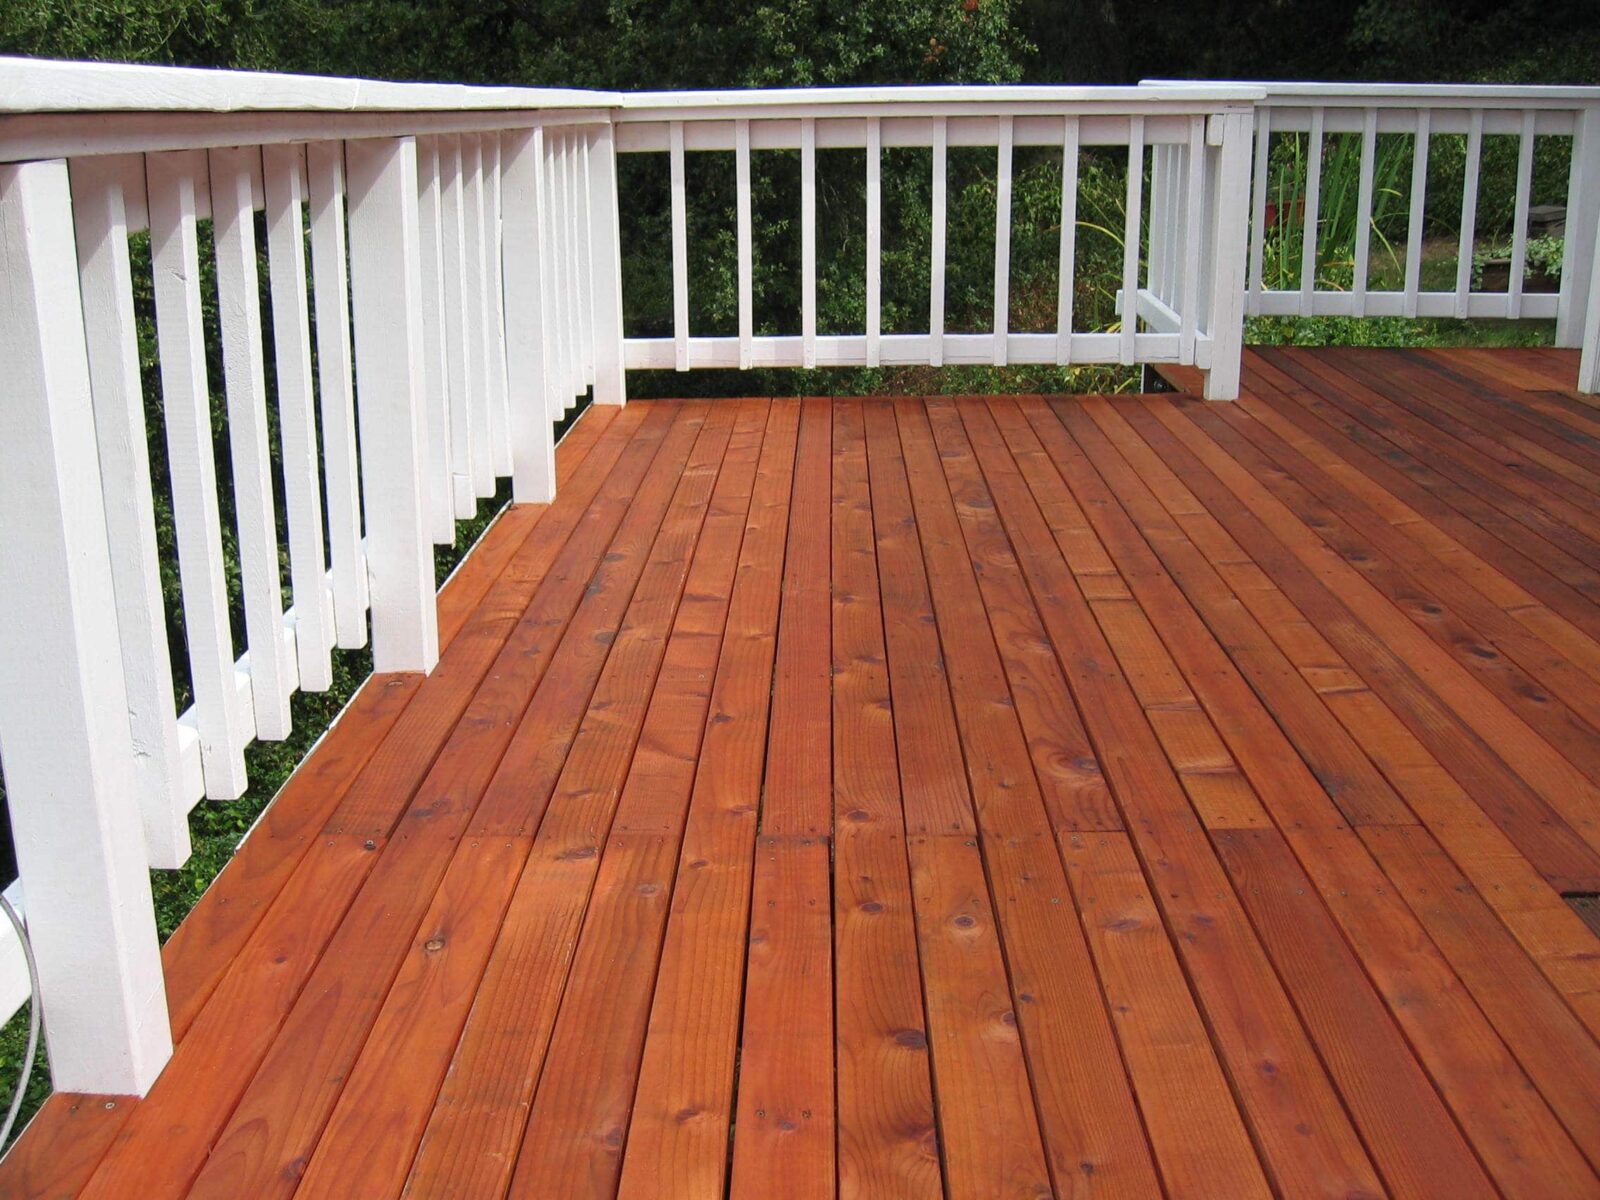
Deck Staining Made Easy: Step-by-Step Overview for DIY Enthusiasts
Are you a do it yourself enthusiast aiming to provide your deck a fresh makeover? Look no more! In this detailed overview, we will certainly walk you through the procedure of deck staining. From preparing the surface to using the tarnish, we've obtained you covered. With our easy-to-follow directions, you'll be able to change your deck into a gorgeous outdoor space in no time at all. So grab your devices and also allow's obtain begun!
Preparing the Deck Surface Area
Prior to you begin tarnishing the deck, ensure you're properly cleaning and sanding the surface. This step is crucial in making certain a smooth and also resilient finish. Begin by removing any furniture or plants from the deck. Brush up away any type of loose dust or debris utilizing a broom. Then, use a power washer or a hose with a high-pressure nozzle to completely clean the deck. Pay close attention to locations with persistent stains or mold, and also use a deck cleaner or a blend of cozy water and also moderate detergent to treat them. After cleaning, allow the deck to dry completely for at least 24 hrs.
Once the deck is completely dry, it's time to sand the surface. Grab a portable orbital sander or a sanding block, as well as start sanding the deck boards in the instructions of the timber grain.
Selecting the Right Discoloration
When choosing on the suitable stain, you'll wish to take into consideration the kind of timber you're dealing with. Different sorts of timber have different qualities that can impact how well they take in the stain. Softwoods, like ache or cedar, often tend to soak up discolor quicker than woods, such as oak or mahogany. Keep this in mind when picking your discolor to ensure you attain the preferred finish.
Stains come in a variety of shades, from light to dark, and also can substantially transform the appearance of your deck. If you're looking to improve the all-natural shade of the timber, choose a transparent or semi-transparent discolor.
Finally, think of the level of security you desire for your deck. Stains with higher levels of pigment tend to give better protection against UV rays and wetness. If your deck is revealed to severe climate condition, it's worth purchasing a tarnish with included safety qualities.
Cleaning and Repairing the Deck
Deck Staining Nashville
To clean up and repair your deck, you'll require to collect the essential tools and also products. Get a mop or fallen leave blower to eliminate any loosened particles such as fallen leaves, dirt, and branches. Next off, evaluate the deck for any type of damaged or rotten boards. If you spot any kind of, ensure to have replacement boards available, along with a round saw and a power drill for the repair. Additionally, you'll require a deck cleaner remedy, a scrub brush, and also a pressure washing machine to remove dust, mildew, and also spots. Don't fail to remember to wear protective eyeglasses, handwear covers, and clothing while working. As soon as you have every little thing ready, start by brushing up the deck completely, taking notice of the edges and sides. Blend the deck cleaner solution as per the supplier's directions and also apply it generously to the surface area. Use the scrub brush to perturb the solution and loosen any kind of crud. After allowing it rest for a couple of minutes, rinse the deck with a pressure washer, functioning in a sweeping motion. Take care not to use also much pressure as it might damage the wood. Ultimately, enable the deck to completely dry completely before relocating on to the next step.
Applying the Stain
Fence Staining
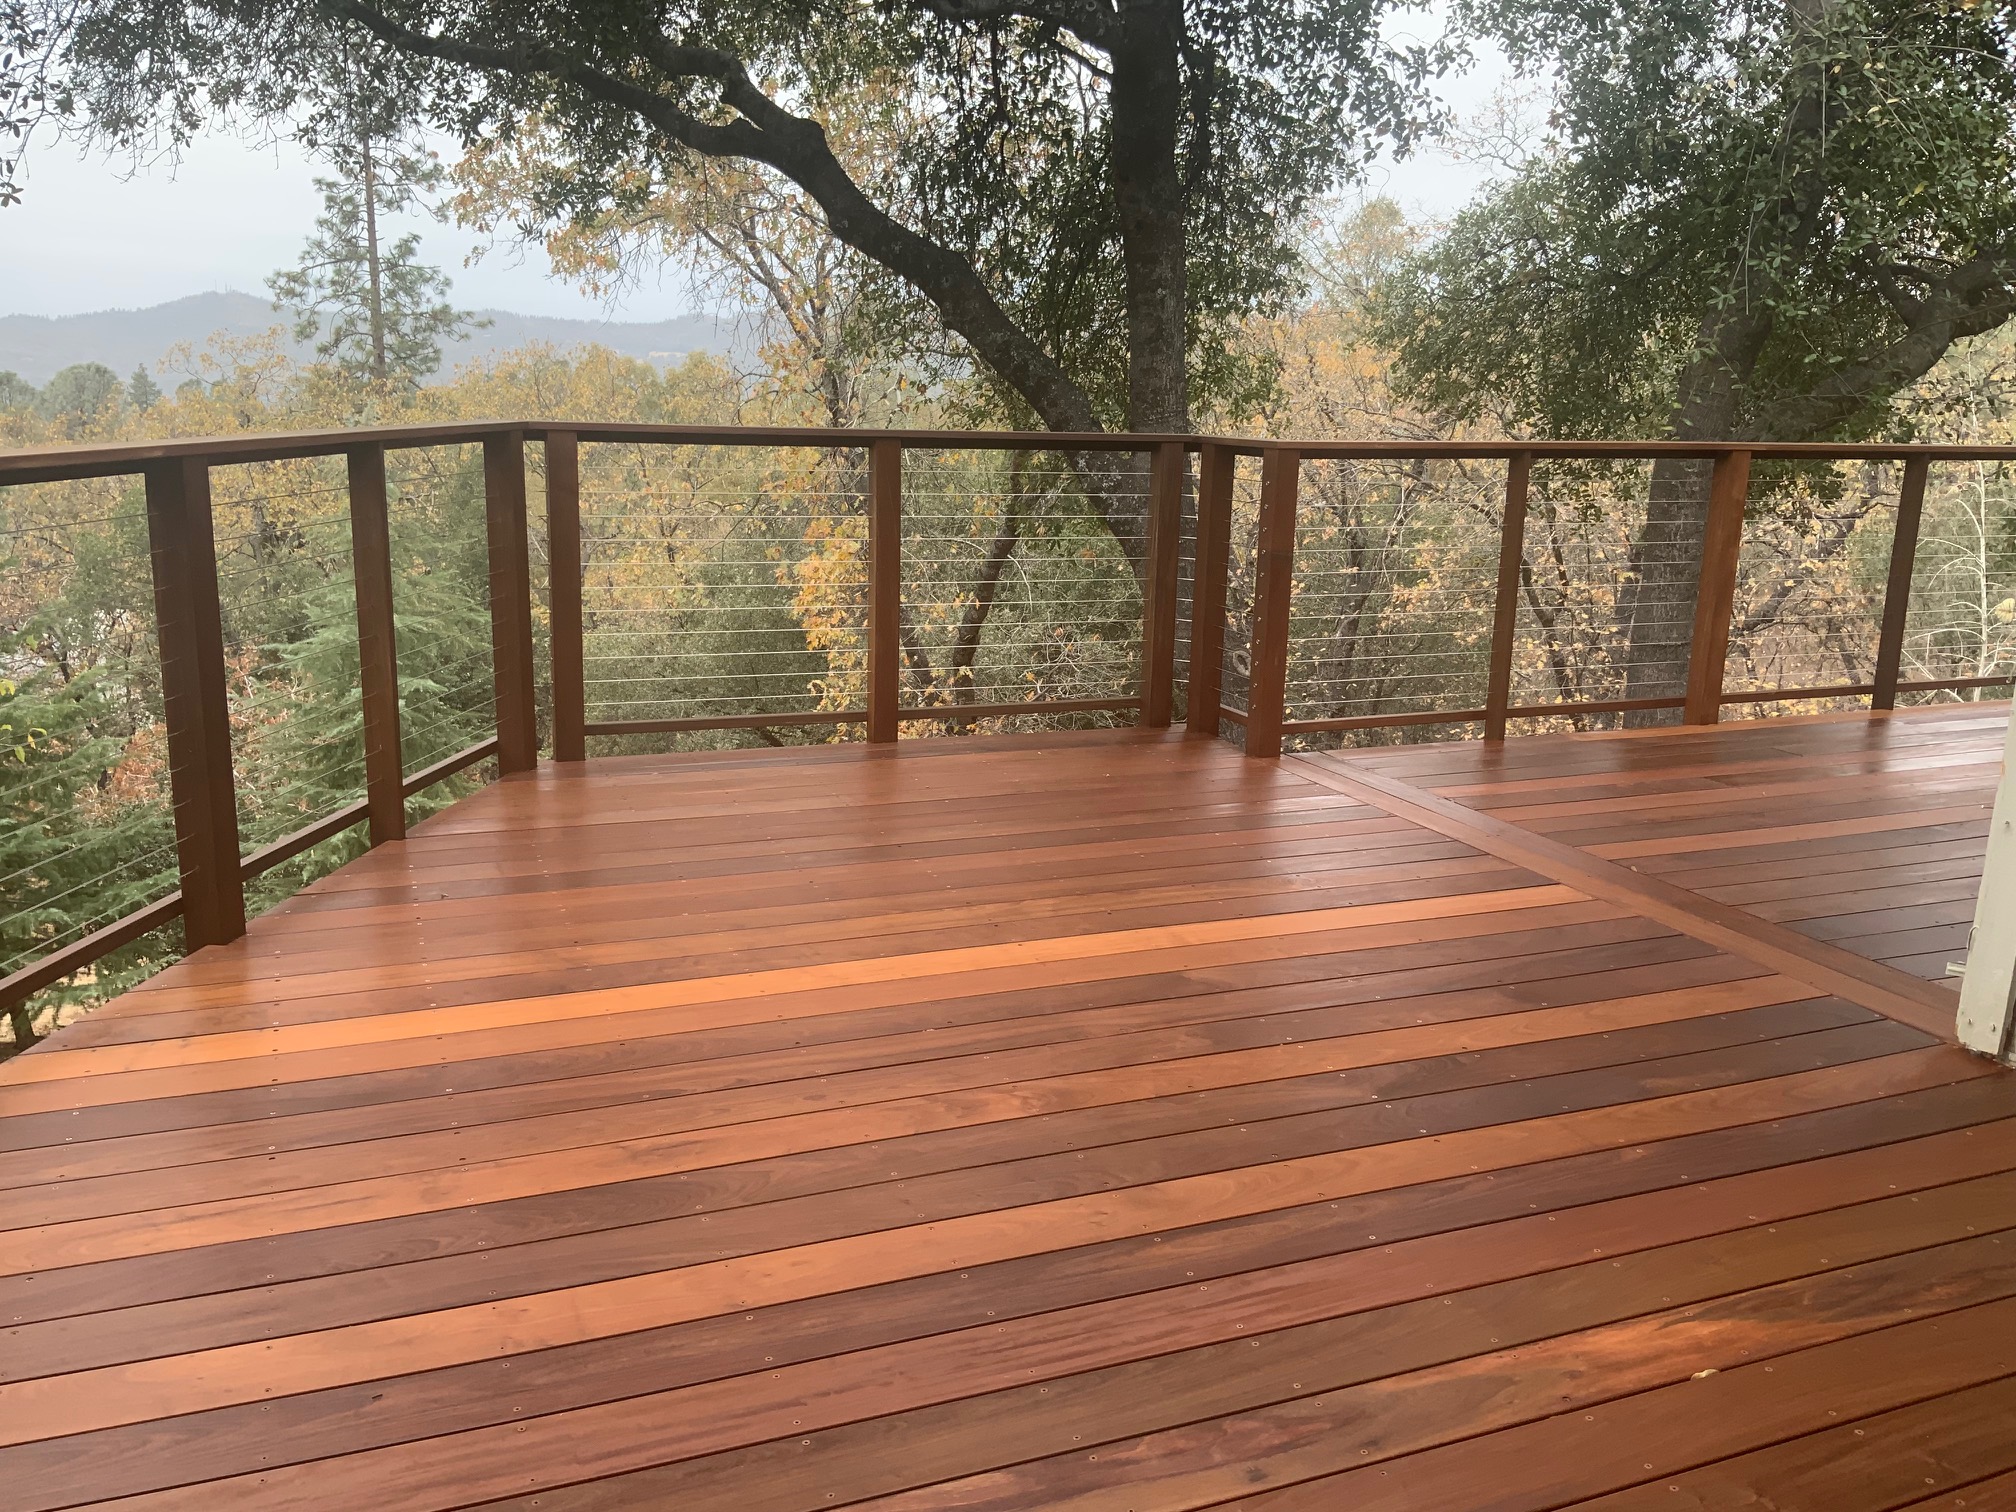
Since you've completed cleansing and repairing, it's time to use the discolor to your deck. This is the amazing component where you obtain to see your difficult work revived. Begin by selecting the right stain for your deck. Take into consideration the shade and sort of wood you have. Ensure to check out the directions on the discolor can to guarantee you apply it appropriately. Prior to you start, shield close-by plants and surfaces from any kind of prospective drips or spills by utilizing a decline fabric or plastic sheeting. Currently, get a paintbrush or roller, and begin applying the stain in smooth, also strokes. Work in small areas, complying with the grain of the wood. Do not neglect to stain the edges and edges of your deck. As you go, ensure to remove any excess discolor to stay clear of a blotchy finish. Permit the very first layer to completely dry totally before using a article second layer if wanted. When you're done, allow the stain remedy according to the manufacturer's guidelines before relocating any kind of Home Page furniture or plants back onto your stunning, freshly stained deck.
Ending Up Touches and also Upkeep Tips
After using the last coat of tarnish, it's vital to consistently clean and also secure your deck to keep its beauty and shield it from the elements. Select a high-quality sealer that is particularly made for decks and apply it according to the producer's guidelines. It's recommended to apply a brand-new layer of sealant every 1-2 years to keep your deck looking its best.
Verdict
Mccoys Fence Staining
In final thought, you have learned just how to make deck discoloring a simple task for DIY fanatics. By complying with the step-by-step guide, you can prepare the deck surface area, select the best stain, tidy and fix the deck, as well as use the discolor successfully. Don't forget the finishing touches and upkeep ideas to guarantee your deck remains lovely as well as safeguarded click now for years to come. With these strategies, you'll be able to delight in a spectacular deck that enhances the overall look of your outside space. Pleased staining!